Korean Lash Lifting has become one of the most talked-about techniques in the lash industry, giving artists another way to create beautifully lifted lashes while working with the natural direction, texture and condition of the hair.
With the BRIK & PEARL® system, artists can incorporate a Korean Lash Lift technique using Bond Flex, Bond Lock and LASH LIFE Volume Filler throughout the service.
Unlike a traditional lash lift where the lashes are generally secured to a rod or shield before Step 1 is applied, this Korean Lash Lift method begins by processing and lifting the lashes upward on a flat shield. Once the lashes have softened, they are transferred onto the artist’s chosen rod or shield before the setting phase.
Here’s how the process works.
Before You Begin
Preparation plays an important role in any lash lift service.
Wash and dry your hands and prepare your products, tools, rods or shields and timers before settling your client. Selecting the rod or shield you intend to use later in the treatment can also help keep the service organised.
The lashes, eyelids and under-eye area should then be thoroughly cleansed to remove makeup, oils and residue. Double cleanse if required, lightly rinse with warm water and dry the area completely before proceeding.
Step 1: Assess the Natural Lashes
Before selecting your shield or determining your processing approach, assess the client’s:
- Lash condition
- Length
- Natural direction
- Strength
- Porosity
- Texture
- Resistance
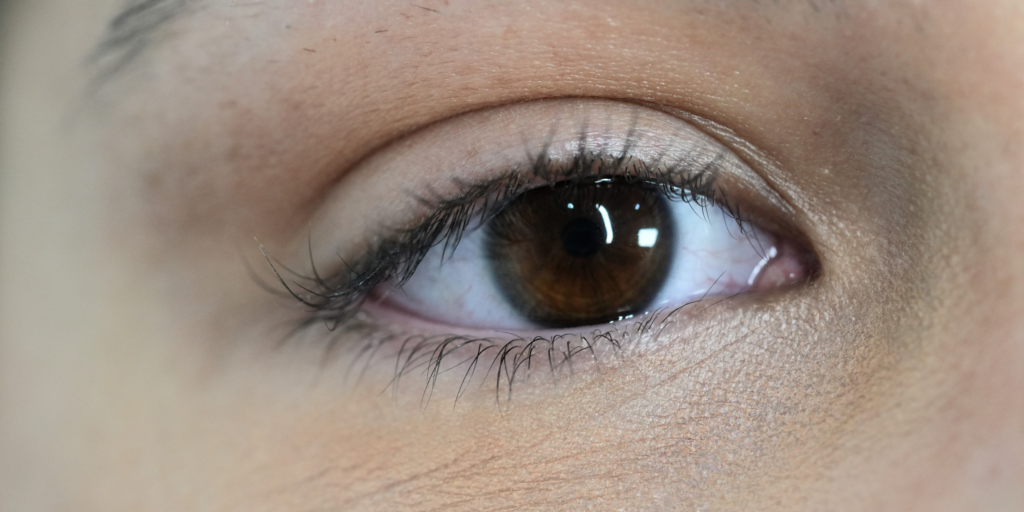
When measuring against the intended rod or shield, the lashes should extend slightly past the halfway point.
This assessment is also important when determining processing, as different lash textures and levels of resistance will respond differently. The guide notes that overprocessing should be avoided, as it may contribute to frizzing, splitting or lash damage.
Step 2: Position the Flat Shield
Secure the bottom lashes with an under-eye pad before placing the flat shield.
If required, gently tape the eyelid upward to create a taut working surface. Position the flat shield close to the lash roots and make sure it sits evenly across the lash line without being positioned too high or too low.
Before moving on, check that no natural lashes have become trapped underneath the shield.
Step 3: Mix and Apply BRIK & PEARL Bond Flex
Now it’s time for Step 1, BRIK & PEARL Bond Flex.
Mix Bond Flex with ElleeMIX Powder to create a thicker consistency that allows for more precise placement.
Depending on the client’s lash texture, the guide recommends using approximately a 30 to 50% powder-to-lotion ratio. Bond Flex already has a thicker consistency, so depending on the client’s lash type and the technique you’re using, you may be able to apply it without adding Elleemix Powder.
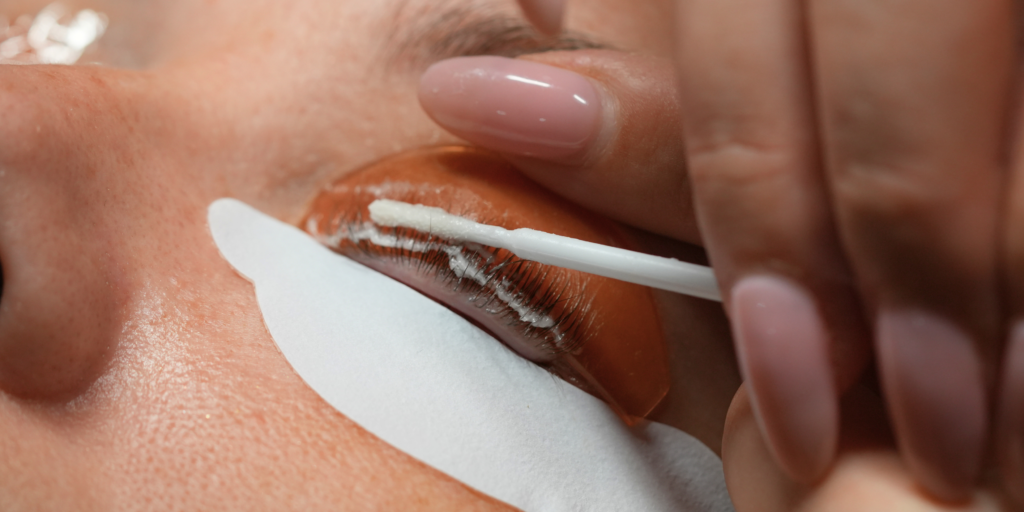
Apply a generous amount of the thickened Bond Flex directly along the base of the flat shield, concentrating the product just above the lash line.
This placement helps secure the lashes against the shield while beginning the lifting process from the root.
Step 4: Wrap the Lashes Upward
Using a long-tipped microbrush, gently sweep and press the lashes upward onto the flat shield.
Work gradually across the lash line, making sure the lashes sit:
- Flat
- Straight
- Separated
- Smooth from root to tip
Resistant lashes may require several passes before they remain in the correct position.
Once the lashes are in place, cover the eye area with cling film as directed in the technique guide.
Step 5: Perform Your Flex Check
Rather than relying on timing alone, check how the lashes are responding.
Perform a Flex Check by gently peeling one lash downward and creating a bend.
When the lashes feel soft and flexible and can form a V shape, Step 1 processing is complete.
Remove Bond Flex thoroughly using a dry cotton tip.
Step 6: Introduce LASH LIFE Volume Filler as Step 1.5
Following the removal of Bond Flex, apply LASH LIFE Volume Filler as a Step 1.5 treatment.
Within this Korean Lash Lift technique, LASH LIFE assists with product removal while beginning the conditioning and reparative stage before Step 2 is applied.
This gives LASH LIFE a valuable role within the service, not only as the final finishing filler but also as part of the treatment process between Bond Flex and Bond Lock.
Step 7: Remove the Flat Shield and Reposition the Lashes
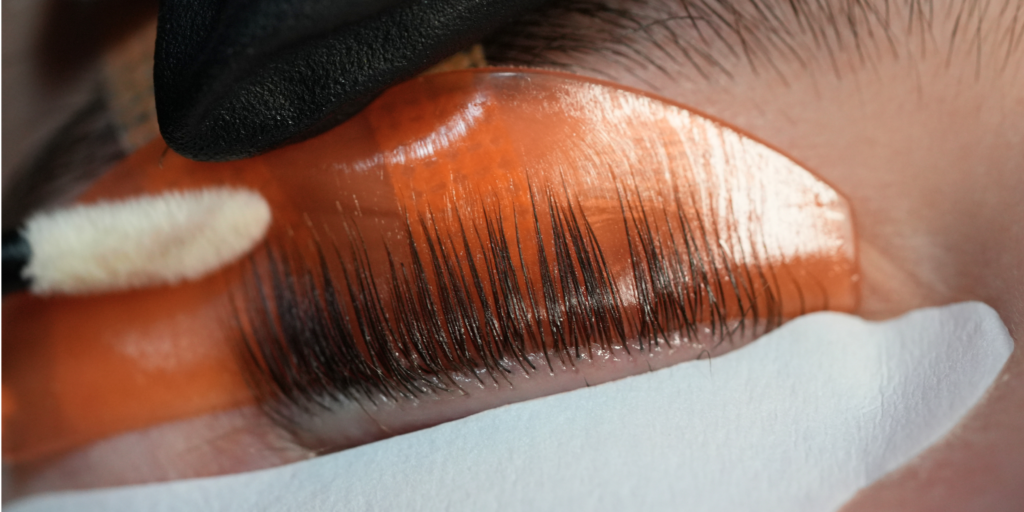
Once Step 1 has been completed, gently peel the flat shield downward and allow the lashes to fall naturally onto the under-eye pad.
Now apply your selected traditional rod or shield, making sure it sits flush against the lash line.
Re-wrap the softened lashes onto the new rod or shield.
Because the lashes have already softened during Step 1, the guide notes that they will often adhere naturally at this point, making repositioning easier and, in many cases, reducing the need for adhesive or balm.
Step 8: Apply BRIK & PEARL Bond Lock
Next comes Step 2, BRIK & PEARL Bond Lock.
Mix Bond Lock with approximately 20 to 30% ElleeMIX Powder Lift, adjusting according to the lash texture.
A slightly thinner consistency can be used at this stage because the lashes have already been softened.
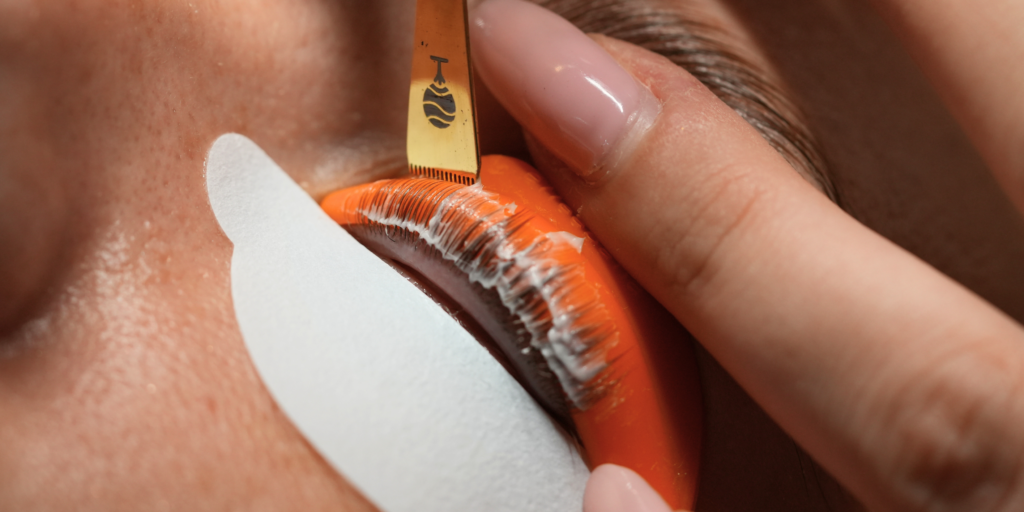
Apply Bond Lock evenly from root to tip to set the lashes into their new position.
Before leaving the product to process, use your preferred lash lifting tool to refine the placement and make sure each lash remains straight and free from kinks.
Step 9: Complete the Set Check
To determine whether the setting phase is complete, release a single lash from the rod.
Watch how the lash responds.
If it springs back into its lifted shape, the setting phase is complete.
If the lash drops downward, additional processing time may be required before the product is removed.
Step 10: Rinse and Remove the Rods or Shields
Once your Set Check confirms that processing is complete, thoroughly rinse the lashes with warm water.
Continue rinsing as you gently remove the rods or shields, making sure all remaining product and adhesive are removed and the lotions are fully deactivated.
Step 11: Apply ReGEN and Tint
Following the setting phase, apply your ReGEN and chosen tint mixture as the bond support and conditioning stage.
According to the BRIK & PEARL Korean Lash Lift guide, the tint is processed for five minutes before excess tint is removed.
Complete a lash bath afterwards to remove remaining product.
Step 12: Finish With LASH LIFE Volume Filler
The treatment finishes by bringing LASH LIFE Volume Filler back into the service.
Apply the filler through the lashes using a mascara brush.
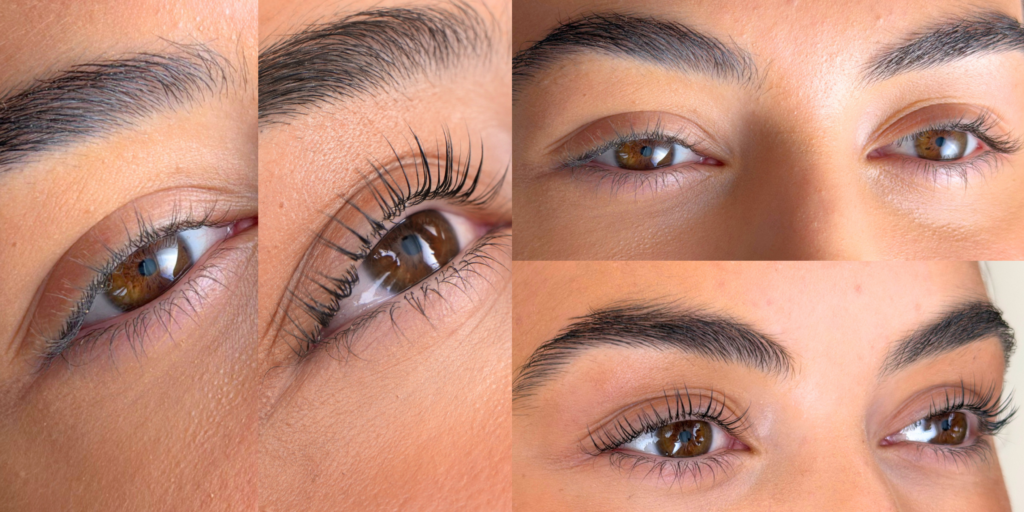
As the professional finishing treatment, LASH LIFE helps provide instant volume while leaving the lashes feeling conditioned, hydrated and fuller-looking following the service.
Clients can then be encouraged to continue with suitable retail aftercare to support lash hydration, softness and condition between appointments.
Understanding the Technique Is Just as Important as Following the Steps
A Korean Lash Lift isn’t simply about changing the order in which products are applied.
Successful results depend on knowing how to assess the natural lashes, select the correct rod or shield, recognise the right point to complete your Flex and Set Checks, adjust your product consistency and respond to different lash textures throughout the treatment.
The BRIK & PEARL system gives professional artists the flexibility to work through each stage of the service while making decisions based on the lashes in front of them.
Want to Learn More?
Ready to build your knowledge of BRIK & PEARL® and learn how the system can be used across modern lash lifting techniques?
Enrol in the BRIK & PEARL Lash & Brow Lab Online Course to learn more about the products, treatment science, processing, professional techniques and complete protocols for working with the system.
Learn the system. Understand the technique. Create your next BRIK & PEARL result with confidence.
ENROLMENTS OPEN FOR AUSTRALIAN STUDENTS. FOR INTERNATIONAL CLASSES CONTACT US HERE